Matt Venn has put together an example PCB to support his workshop event at Wuthering Bytes teaching people how to layout their own PCBs and prepare a project for manufacture. See the project page here. Below is a guide with the components and their corresponding screenprinted labels.
Kits of parts to populate Matt’s PCB design are available. If you would like to purchase a kit, please ask for a Shrimp Core Components kit, (the standard parts for a breadboard) plus a ShrimpPCB expansion pack (the extra chip socket, female and male headers, and capacitor).
| Part | Value | Description | Link | Image |
|---|---|---|---|---|
| C1 | 100nF | Tayda |  |
|
| C2 | 100nF | Tayda | |
|
| C3 | 100nF | Tayda | |
|
| C4 | 22pF | Tayda |  |
|
| C5 | 22pF | Tayda | |
|
| C6 | 100nF | Tayda | |
|
| C7 | 10uF | Tayda | |
|
| C8 | 10uF | Tayda | |
|
| IC1 | ATMEGA328P-PU | Bootloaded with Arduino Uno Bootloader | Mouser | |
| LED1 | Ultrabright Red LED | Tayda |  |
|
| POWER | 2-Pin Male Header | Aliexpress | ||
| Q1 | 16 MHz Crystal | Tayda | 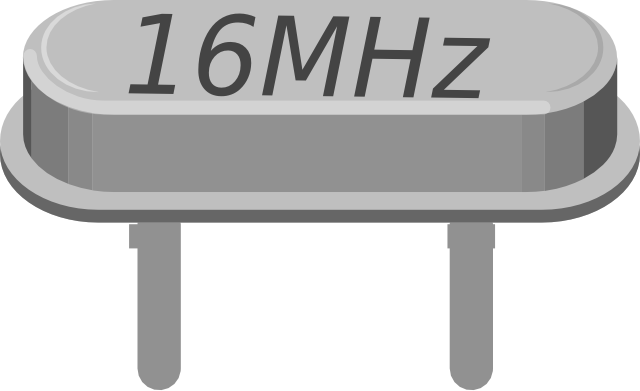 |
|
| R1 | 10KOhm | Tayda | |
|
| R2 | 100Ohm | |
||
| S1 | Tactile Switch 6mmx6mm | Tayda | 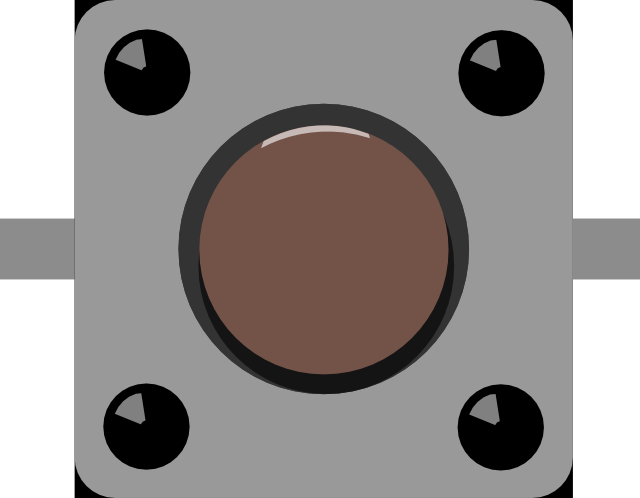 |
|
| SERIAL | 6-Pin Male Header | Aliexpress | ||
| Supporting Extras also included in the kit as agreed with Matt… A 28DIP Chip Socket, 8pin and 6 pin female headers for Arduino shield compatibility, a full 40 pin male header strip (you break off 6 pins for SERIAL). | ||||

[…] The aim of the workshop was to make a PCB for the Shrimp Arduino kit. […]